Create a new test
- Click "New" on the homepage.
- Give your test a title.
- Specify which classes will take the test. You can enter multiple classes as a comma-separated list.
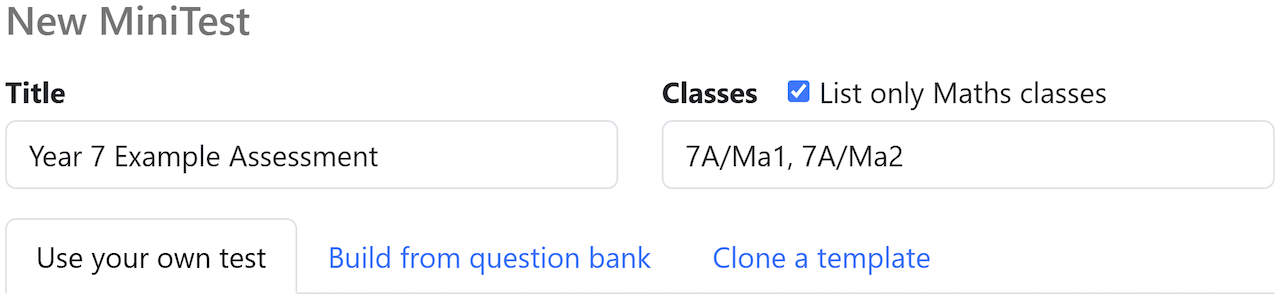
Then there are three options:
Use your own test
You can use:
- Existing department assessments
- Past exam papers
To set this up on MiniTest:
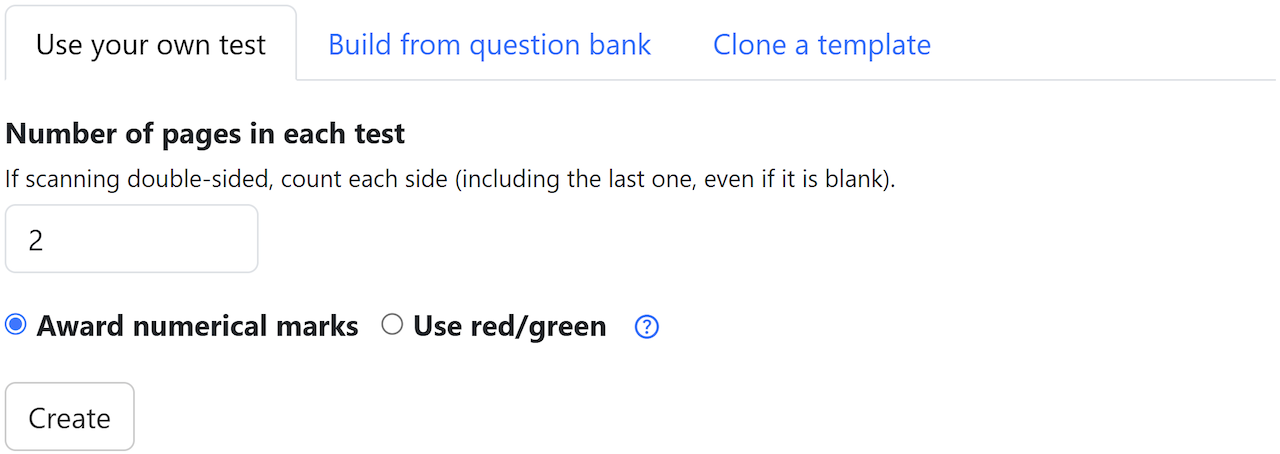
- Select the "Use your own test" tab.
- Enter the number of pages in the test. Each side counts as a page. Note that when you scan double-sided, the scanner will include the back of the last page, even if it is blank — so you must include this in your count. For example, if you have a 5-page test printed double-sided, you need to enter "6" as this includes the blank side at the end.
- Select either "Award numerical marks" or "Use red/green" (read our guidance).
- Click "Create".
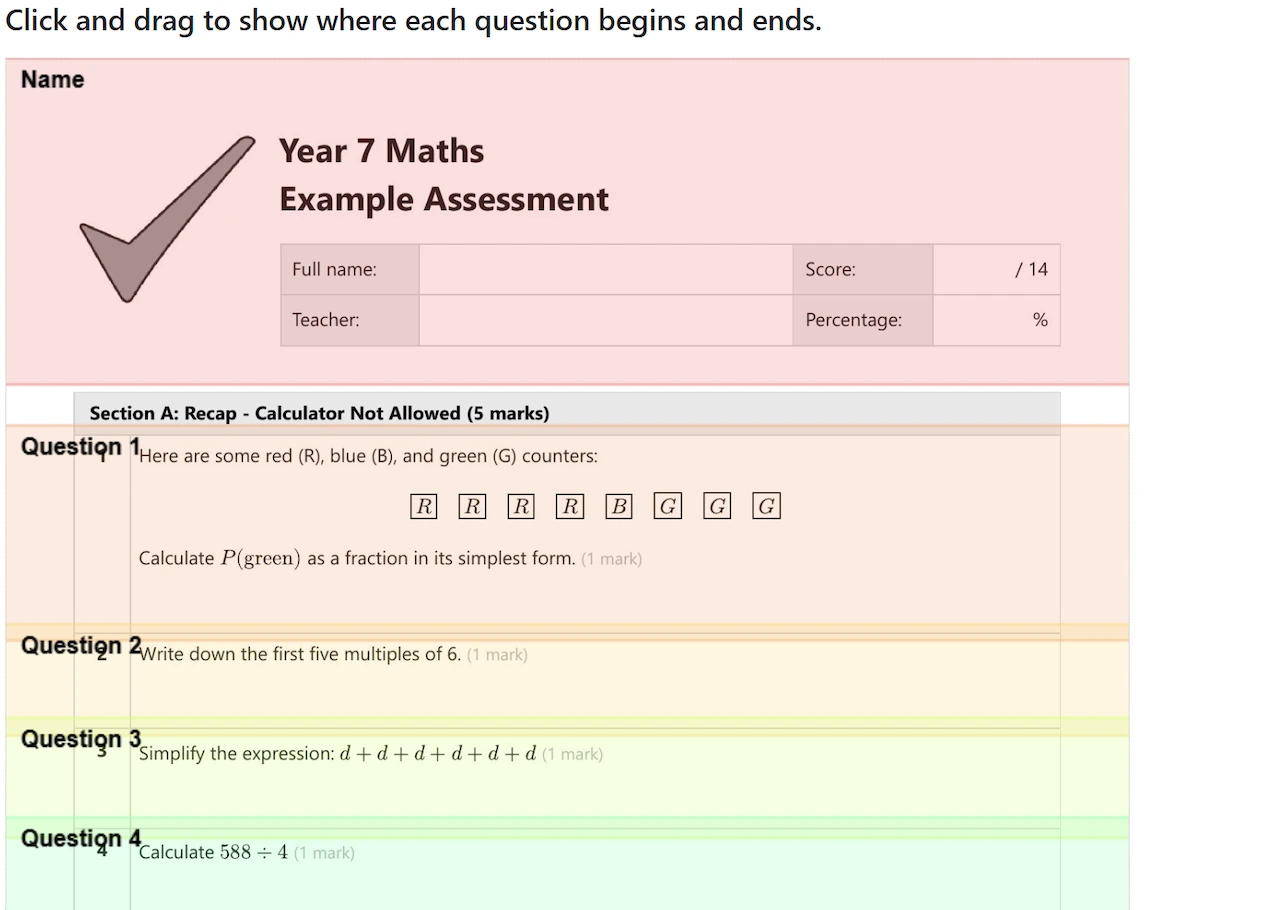
When you first upload your scans, you will need to complete a short setup process before you can start marking. Click and drag regions to show MiniTest where each question starts and ends. Be generous in your selection to include the whole area where students might write their answers (and a bit extra in case any of the papers scan slightly askew). It's good practice for the rectangles to overlap.
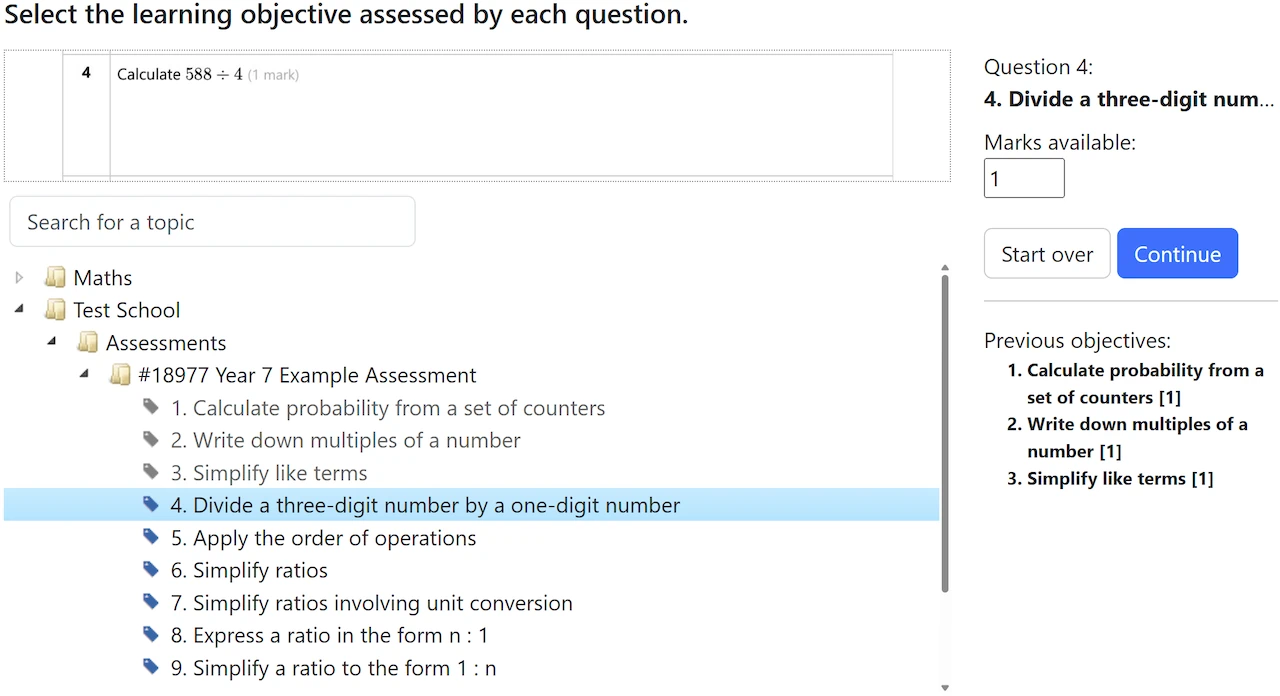
Finally, after you have identified student names, you will be asked to assign a topic to each question. There are two approaches.

Select from topic tree
Use this option when you are red/green marking and wish to track progress across multiple tests, or if you already have the topic names set up. You can right-click any node to create, edit, or delete topics.
Create standalone topics
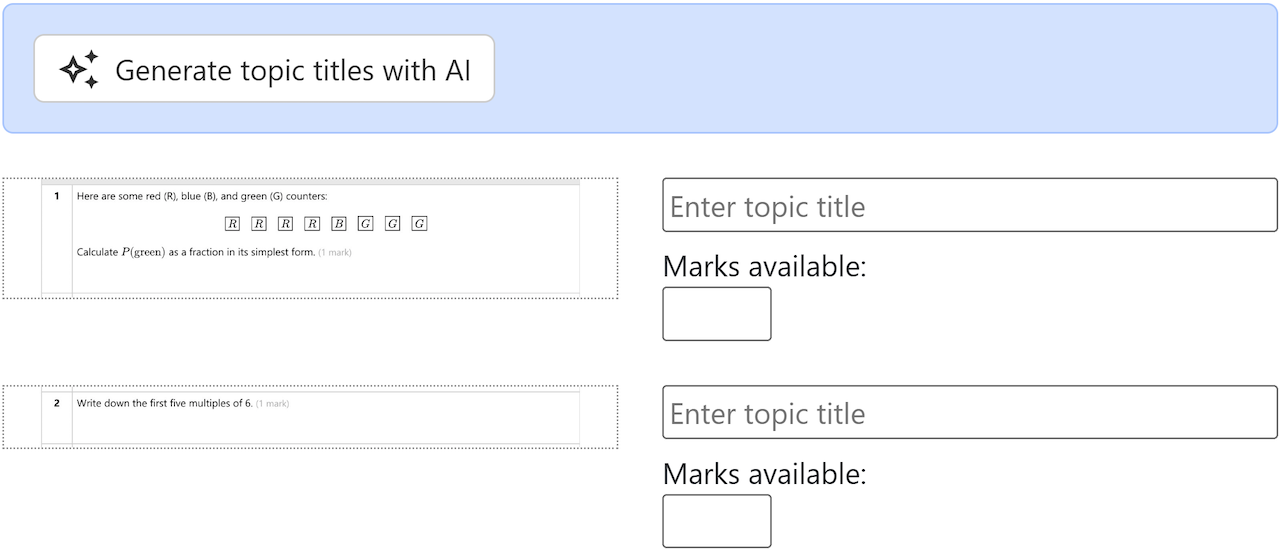
This is usually the preferred option when you are awarding numerical marks. To enable it, make sure you have scanned and uploaded a blank copy of the test. Click "Generate topic titles with AI" to automatically detect the topic assessed by each question and number of marks available. Check all the entries carefully, especially the mark totals, before you confirm.
Build from question bank
MiniTest contains a built-in bank of GCSE Mathematics questions. You can also set up your own question bank. Tests created from the question bank only support red/green marking because they are designed for diagnostic assessment and progress tracking over time.
- Select the "Build from question bank" tab.
- Browse the topic list or use the search box.
- Click the topic you wish to assess. One or more questions will appear on the right-hand side.
- Click on a question to add it. You will see it appear in the test preview below.
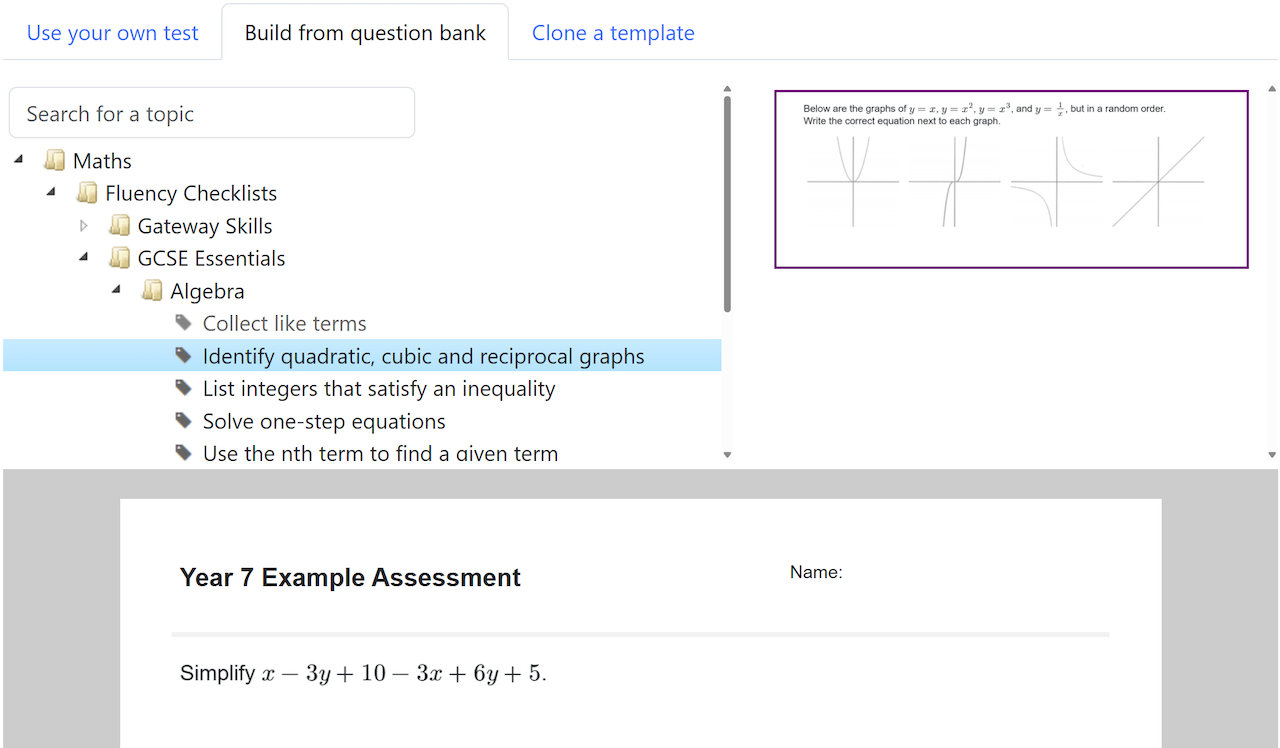
You can delete or reorder questions by hovering over them in the test preview and using the bin or arrow icons.
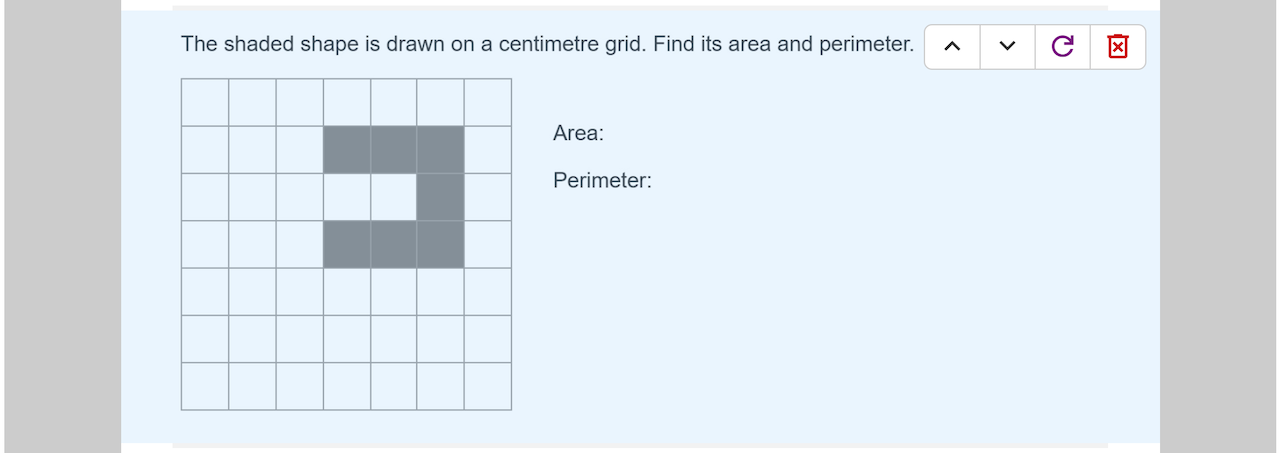
Some questions in the built-in question bank are procedurally generated, using randomised numbers. This is useful for assessing students on the same topic again in future tests. You can regenerate a new version of a question by clicking the purple refresh icon.
When you add lots of questions, the test may span multiple pages. Sometimes it's possible to reorder the questions to fit on fewer pages, and a link will appear to do this automatically.

When you have finished, click "Create".
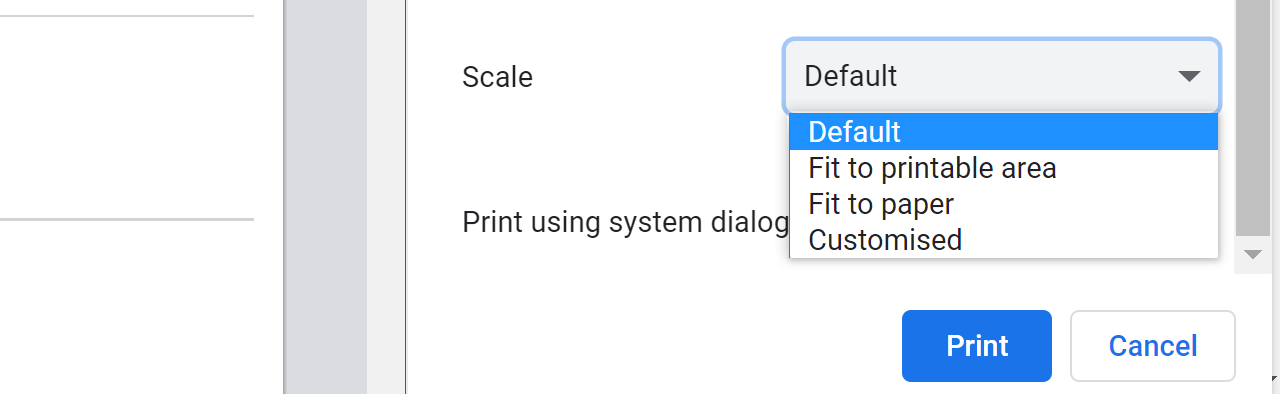
To print the test, click "Print blank test as PDF". Make sure you print it as "Actual size" or "Default". Do not select "Fit to printable area", as this will cause the questions to be misaligned when they are scanned.
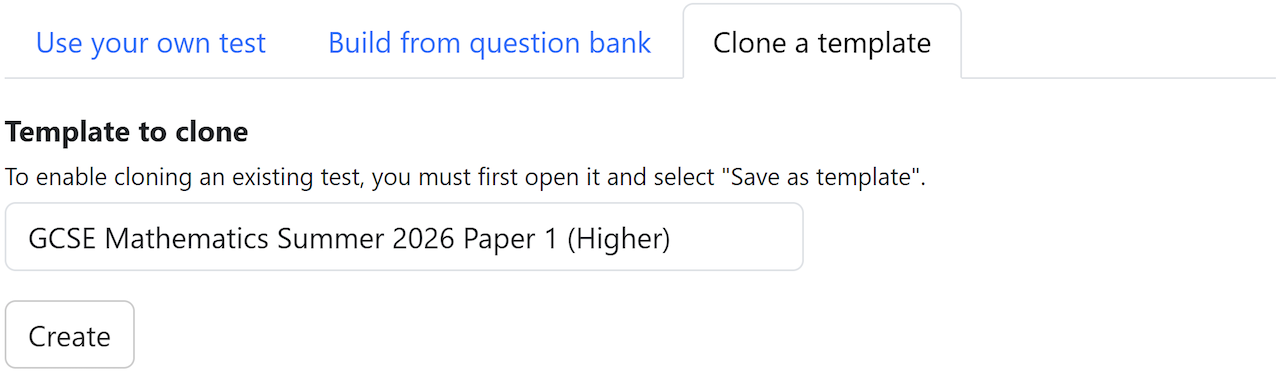
Clone a template
If you already have a test set up on MiniTest and would like to reuse it in the future, for example in subsequent academic years, open it and click "Save as template". Only school admins can do this, so ask your school admin if you do not have access. This means you won't need to go through the setup process of snipping questions and selecting topics the next time you use the same assessment.
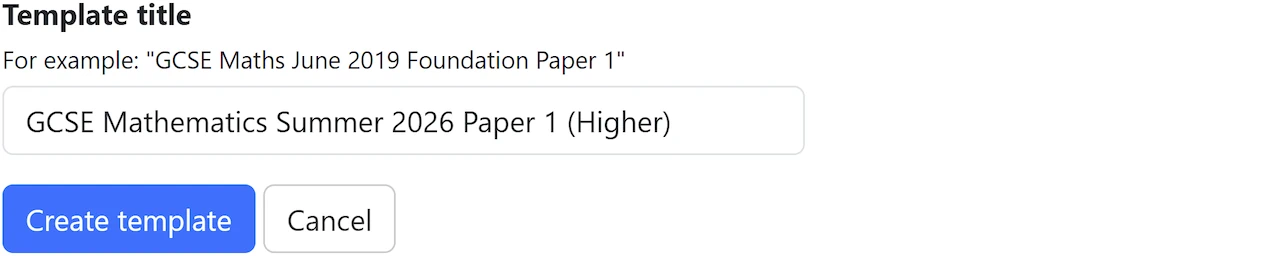
Enter a template title and click "Create template".
Then, when creating a new test the following year, click the "Clone a template" tab and select the template you created earlier.