Identify student names
After scans are uploaded, you need to identify which scan belongs to which student.
- Select your test and click "Identify students".
- The uploaded scans will be displayed, and you can select each student's name from a dropdown list.
- Click "Identify student names with AI" to match the scans automatically. Check the output carefully to make sure no tests are incorrectly assigned.
- When you are finished, click "Identify scans".
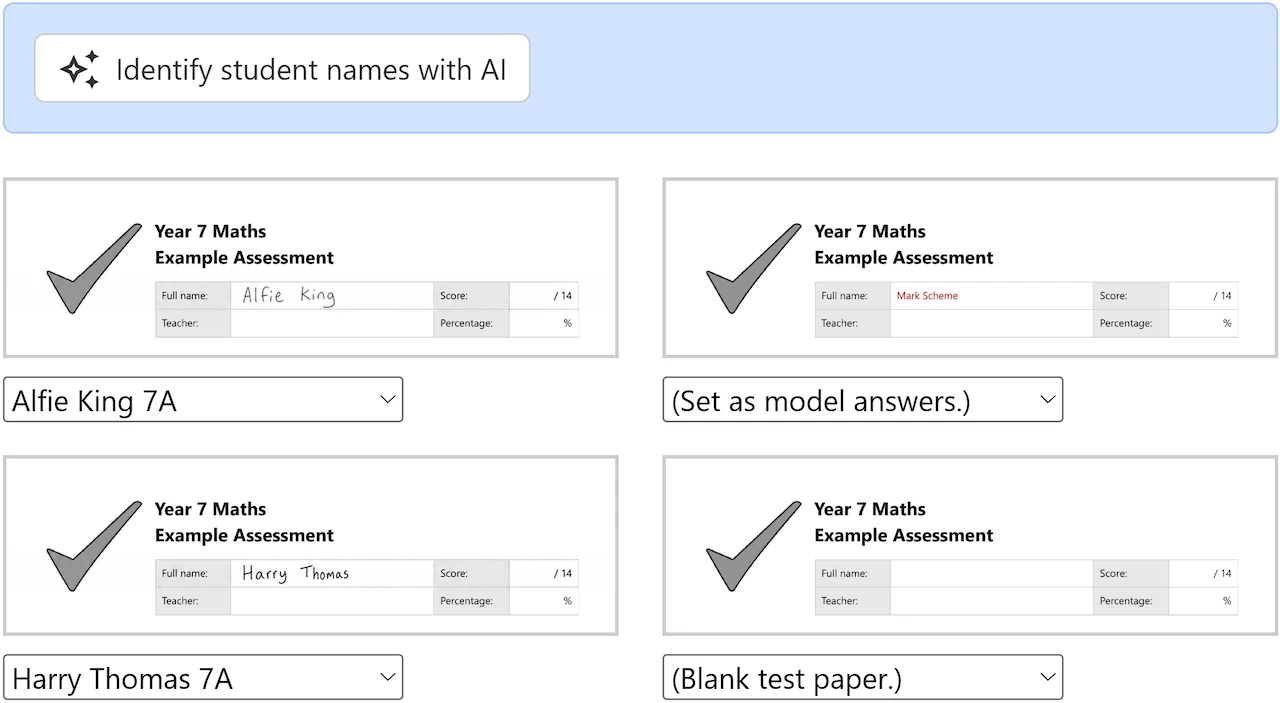
As well as each student's name, there are also options for:
- No action — This keeps the scan unassigned, which may be useful if a student has forgotten to write their name. You can come back later and assign it.
- Set as model answers — This assigns the scan as the model solution, which will be displayed alongside student work while you are marking. If this option is not available, it means model answers have already been assigned.
- Blank test paper — This is for uploading a blank copy of the test, which enables AI features, or for adding questions to your school's question bank.
- Delete this scan — Use this to remove invalid scans, for example if they are accidentally uploaded twice.
Correct a mistake
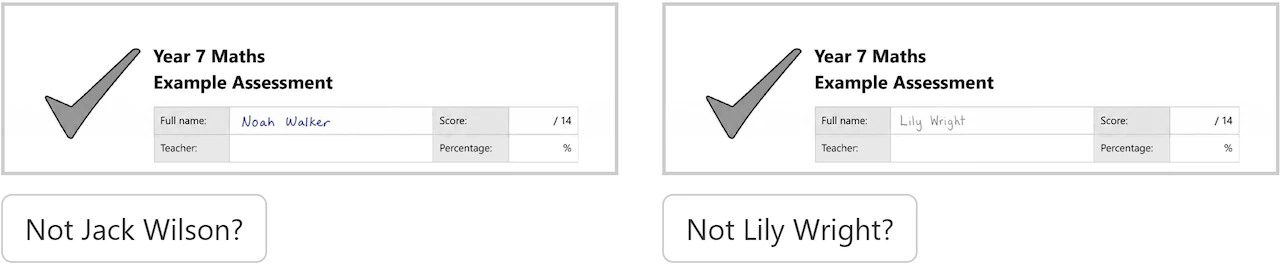
Occasionally, teachers might accidentally select the wrong student for a test. To correct this, you can unassign that student and then assign the correct one.
- Select your test and click "Check names". If this option does not appear, you can click "Identify students" and then "Check identified scans".
- Find the scan that is incorrectly assigned. You can search using Ctrl+F.
- Click the button to unassign the scan from the student.
- Go back to the "Identify students" page and assign the scan to the correct student.
Use QR codes to auto-detect students
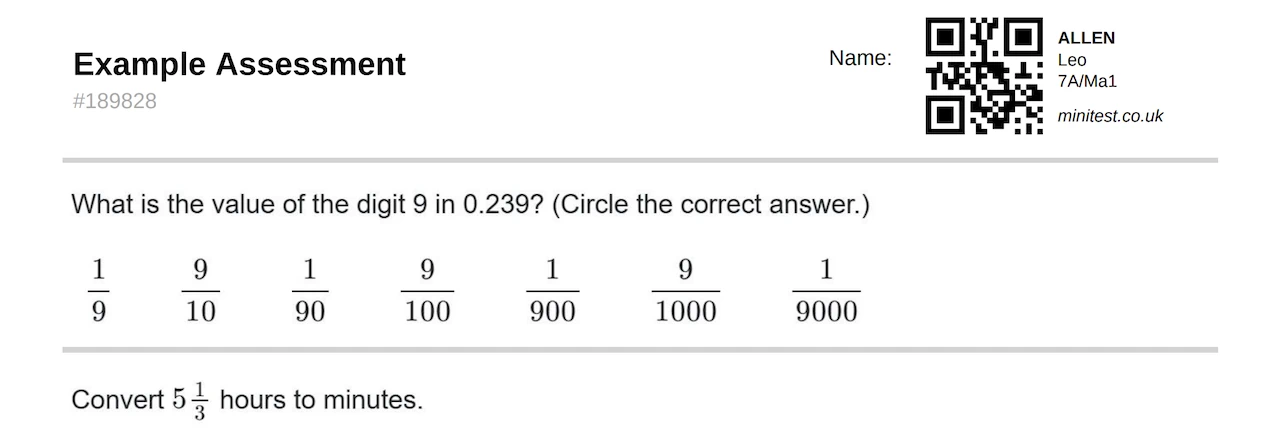
When you create a test from the question bank, you have the option to print a class set pre-labelled with individual student barcodes. These are designed so that MiniTest can automatically identify each student during the upload process.
- We recommend that you specify a class handout order, if you have not already done so.
- Select your test and click "Print with QR codes". This generates a long PDF document containing all students' tests.
- You only need to print one copy (and remember to select "Actual Size" or "Default" scaling).
- It is not possible to staple each student's test during printing, as they are all output as a single file. However, students' names and page numbers are shown at the bottom of each page. This means that multi-page tests can be handed out without stapling, as long as care is taken to ensure that they are returned in the correct order.
- When uploading the scanned tests, make sure the "Identify students from QR codes" option is checked.
- MiniTest will almost always identify all students from their QR codes. However, if any students could not be identified, then you will be able to do so manually.